Instructions On How To Take Eye Pictures To Upload
Click on titles of Steps to be taken to that part.
Step 1: Set-Up and Preparation - YOU NEED A SECOND PERSON WITH YOU TO TAKE THE PICTURES
Step 2: Positioning and Taking the Photo
Step 3: Capturing the White of the Eye Looking Up
Step 4: Capturing the White of the Eye Looking Down
Step 5: Capturing the White of the Eye Looking Right
Step 6: Capturing the White of the Eye Looking Left
Step 7: Completing The Photo Series By Taking 5 Total Pictures Of Right Eye and 5 Total Pictures Of Left Eye
Disclaimer: These images are collected for wellness exploration purposes only and are not intended for medical analysis, diagnosis, or treatment. This process does not assess eye health or detect medical conditions. If you have concerns about your eyes or vision, consult a licensed healthcare provider
Step 1:
Lighting and Set-Up:
- Be in a well-lit room, ensuring there is no sunlight glare. Close all blinds or curtains.
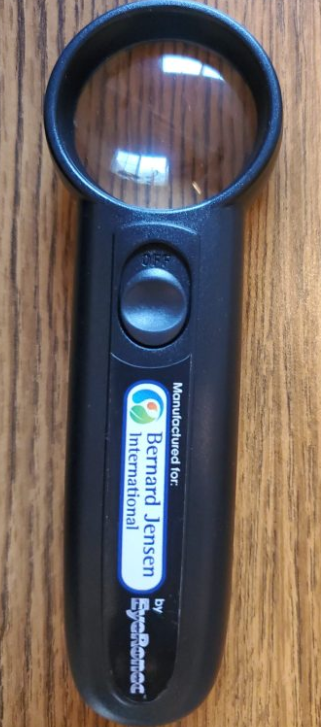
- Ask someone to take pictures of your eye using a digital camera or cell phone camera while holding a magnifying lens in front of your eye.
- The magnifying lens should not be stronger than 10x magnification to avoid distorting the eye. You will most likely use the magnifying glass we send you as seen in the picture below.
Preparation:
- Remove contact lenses, glasses, and any eye makeup that may obstruct a clear picture of the eye.
- DO NOT us flash
Step 2: Positioning and Taking the Photo
Positioning:
- The person having their eye photographed should sit down and hold the magnifying glass flush against their eye.
- Slowly move the magnifying glass away from the eye until the eye is magnified enough to fill a significant portion of the lens.
Taking the Photo:
- The person taking the picture should bring the camera flush against the magnifying lens.
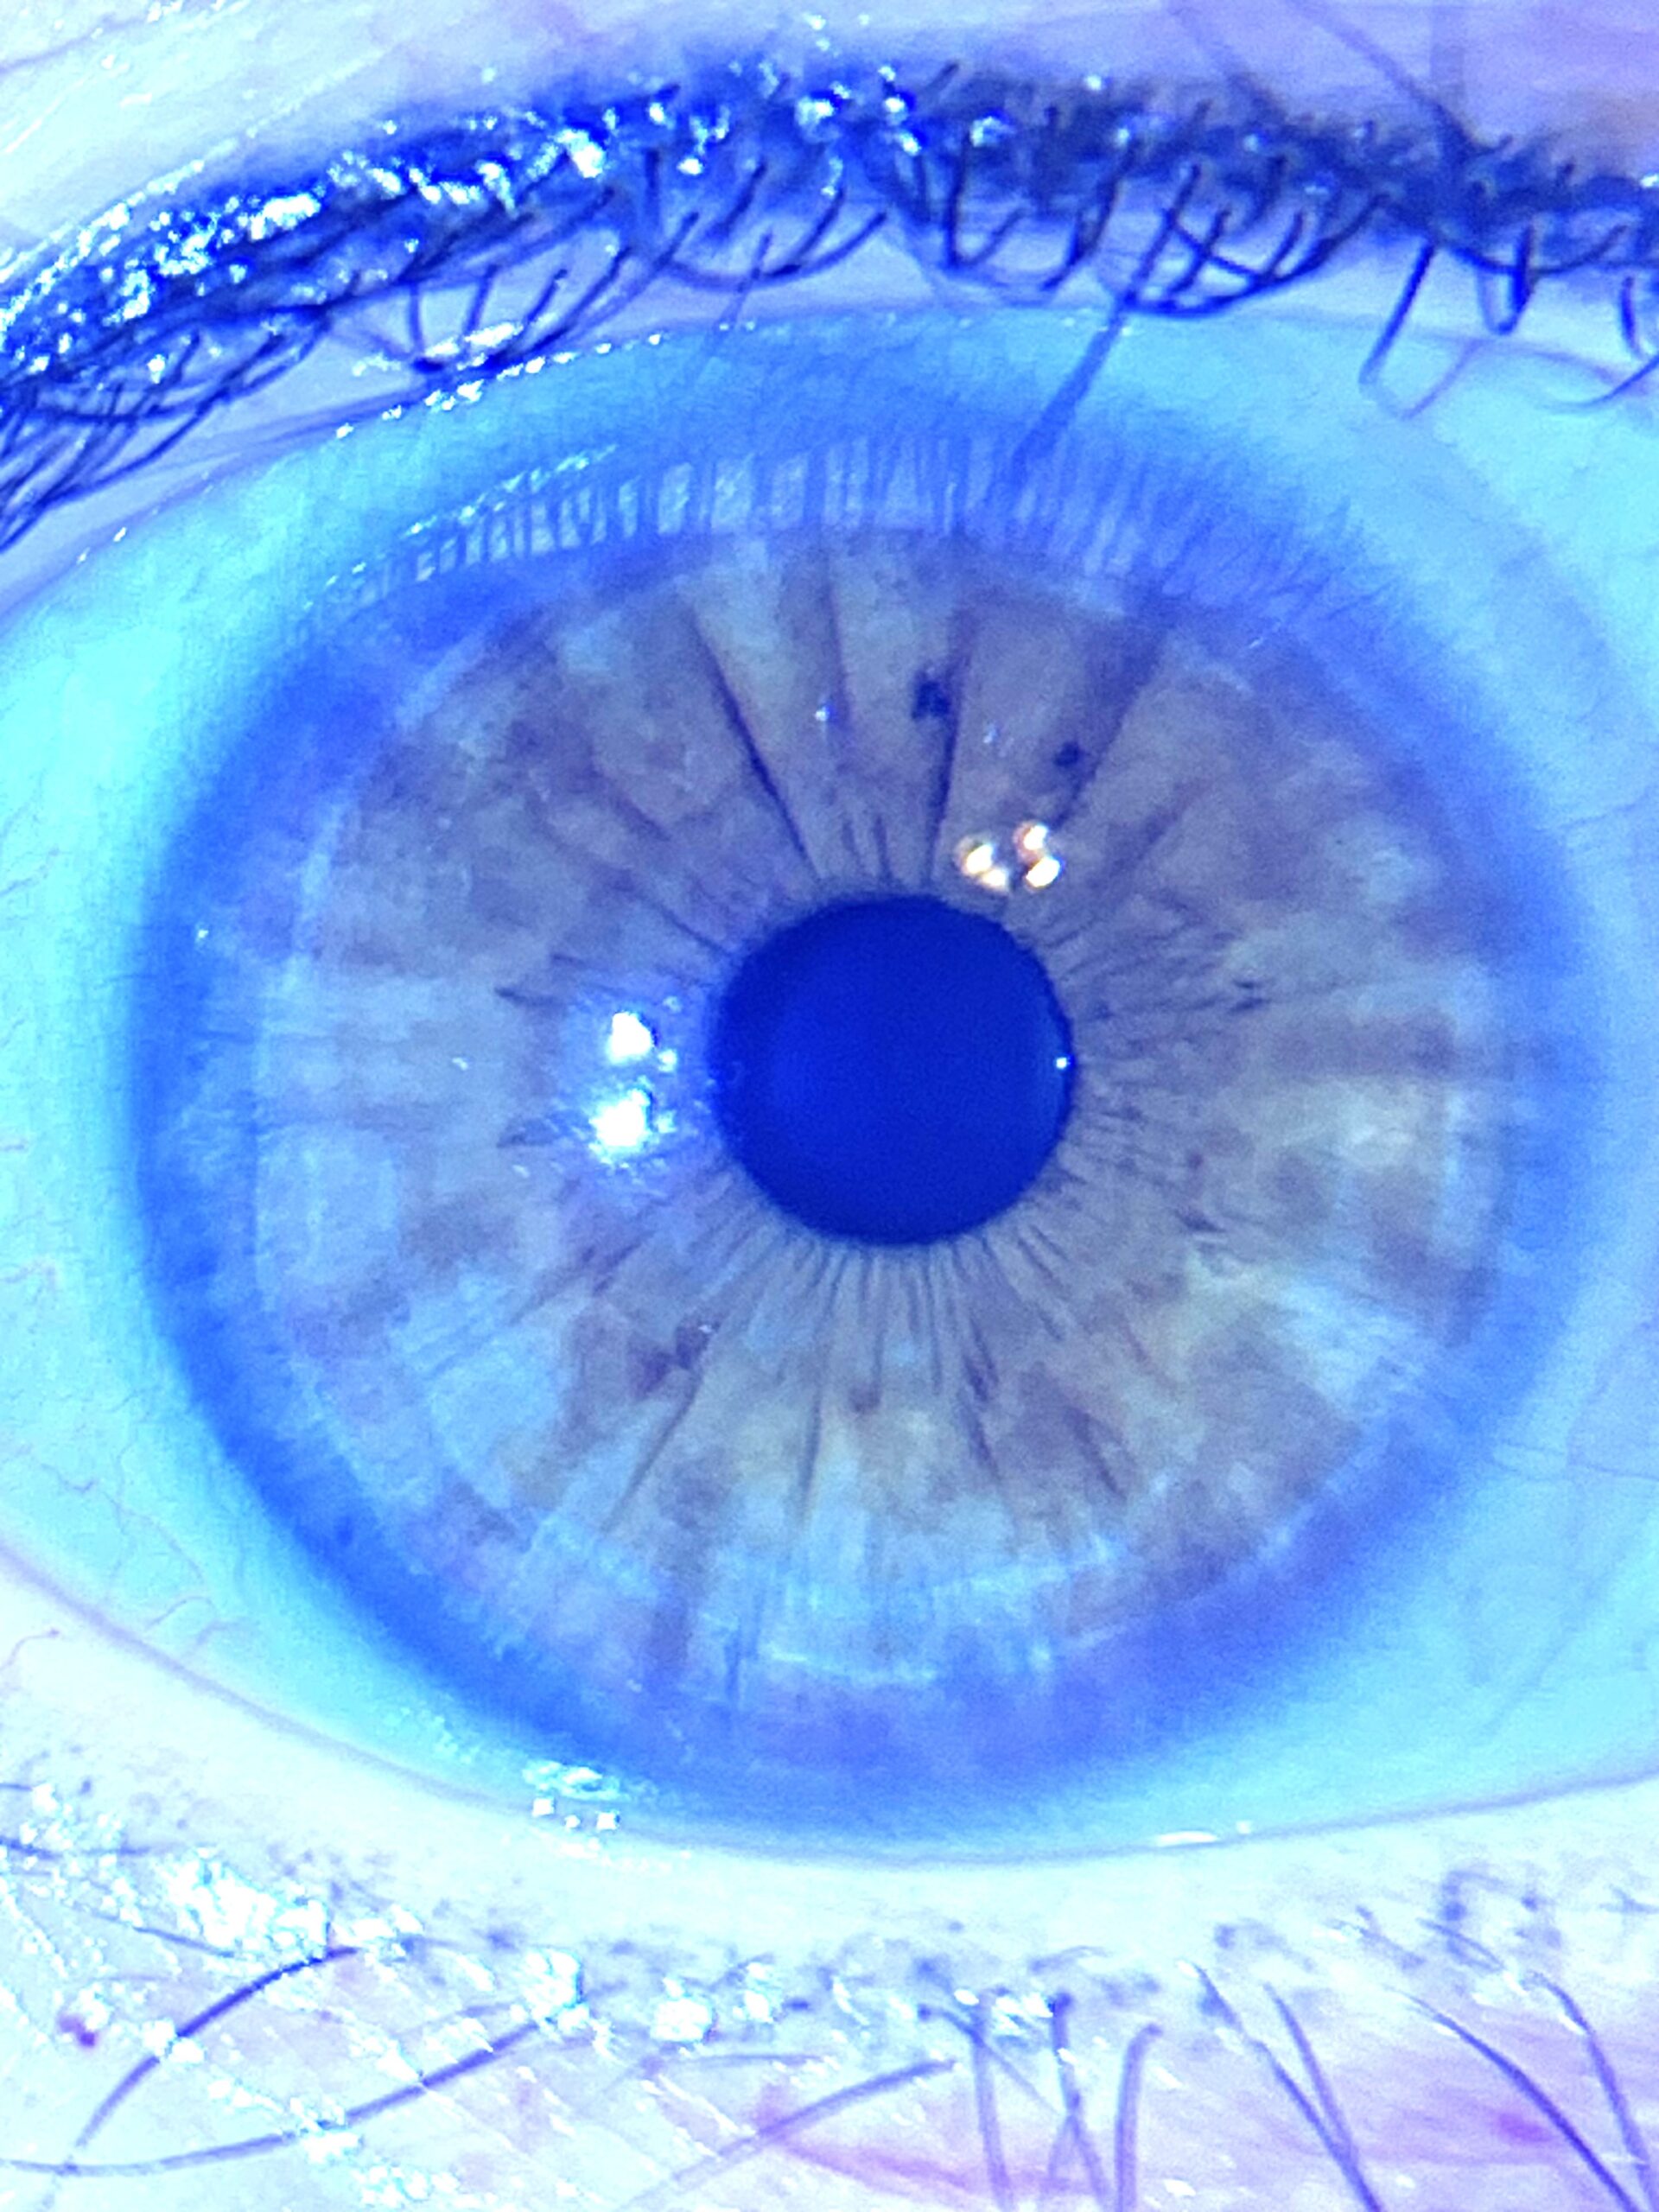
- If necessary, zoom in to capture a clear and detailed image of the right eye.
- Let the person know to open up there eyes really wide to make sure the whole eye is captured
Step 3: Capturing the White of the Eye Looking Up
Positioning:
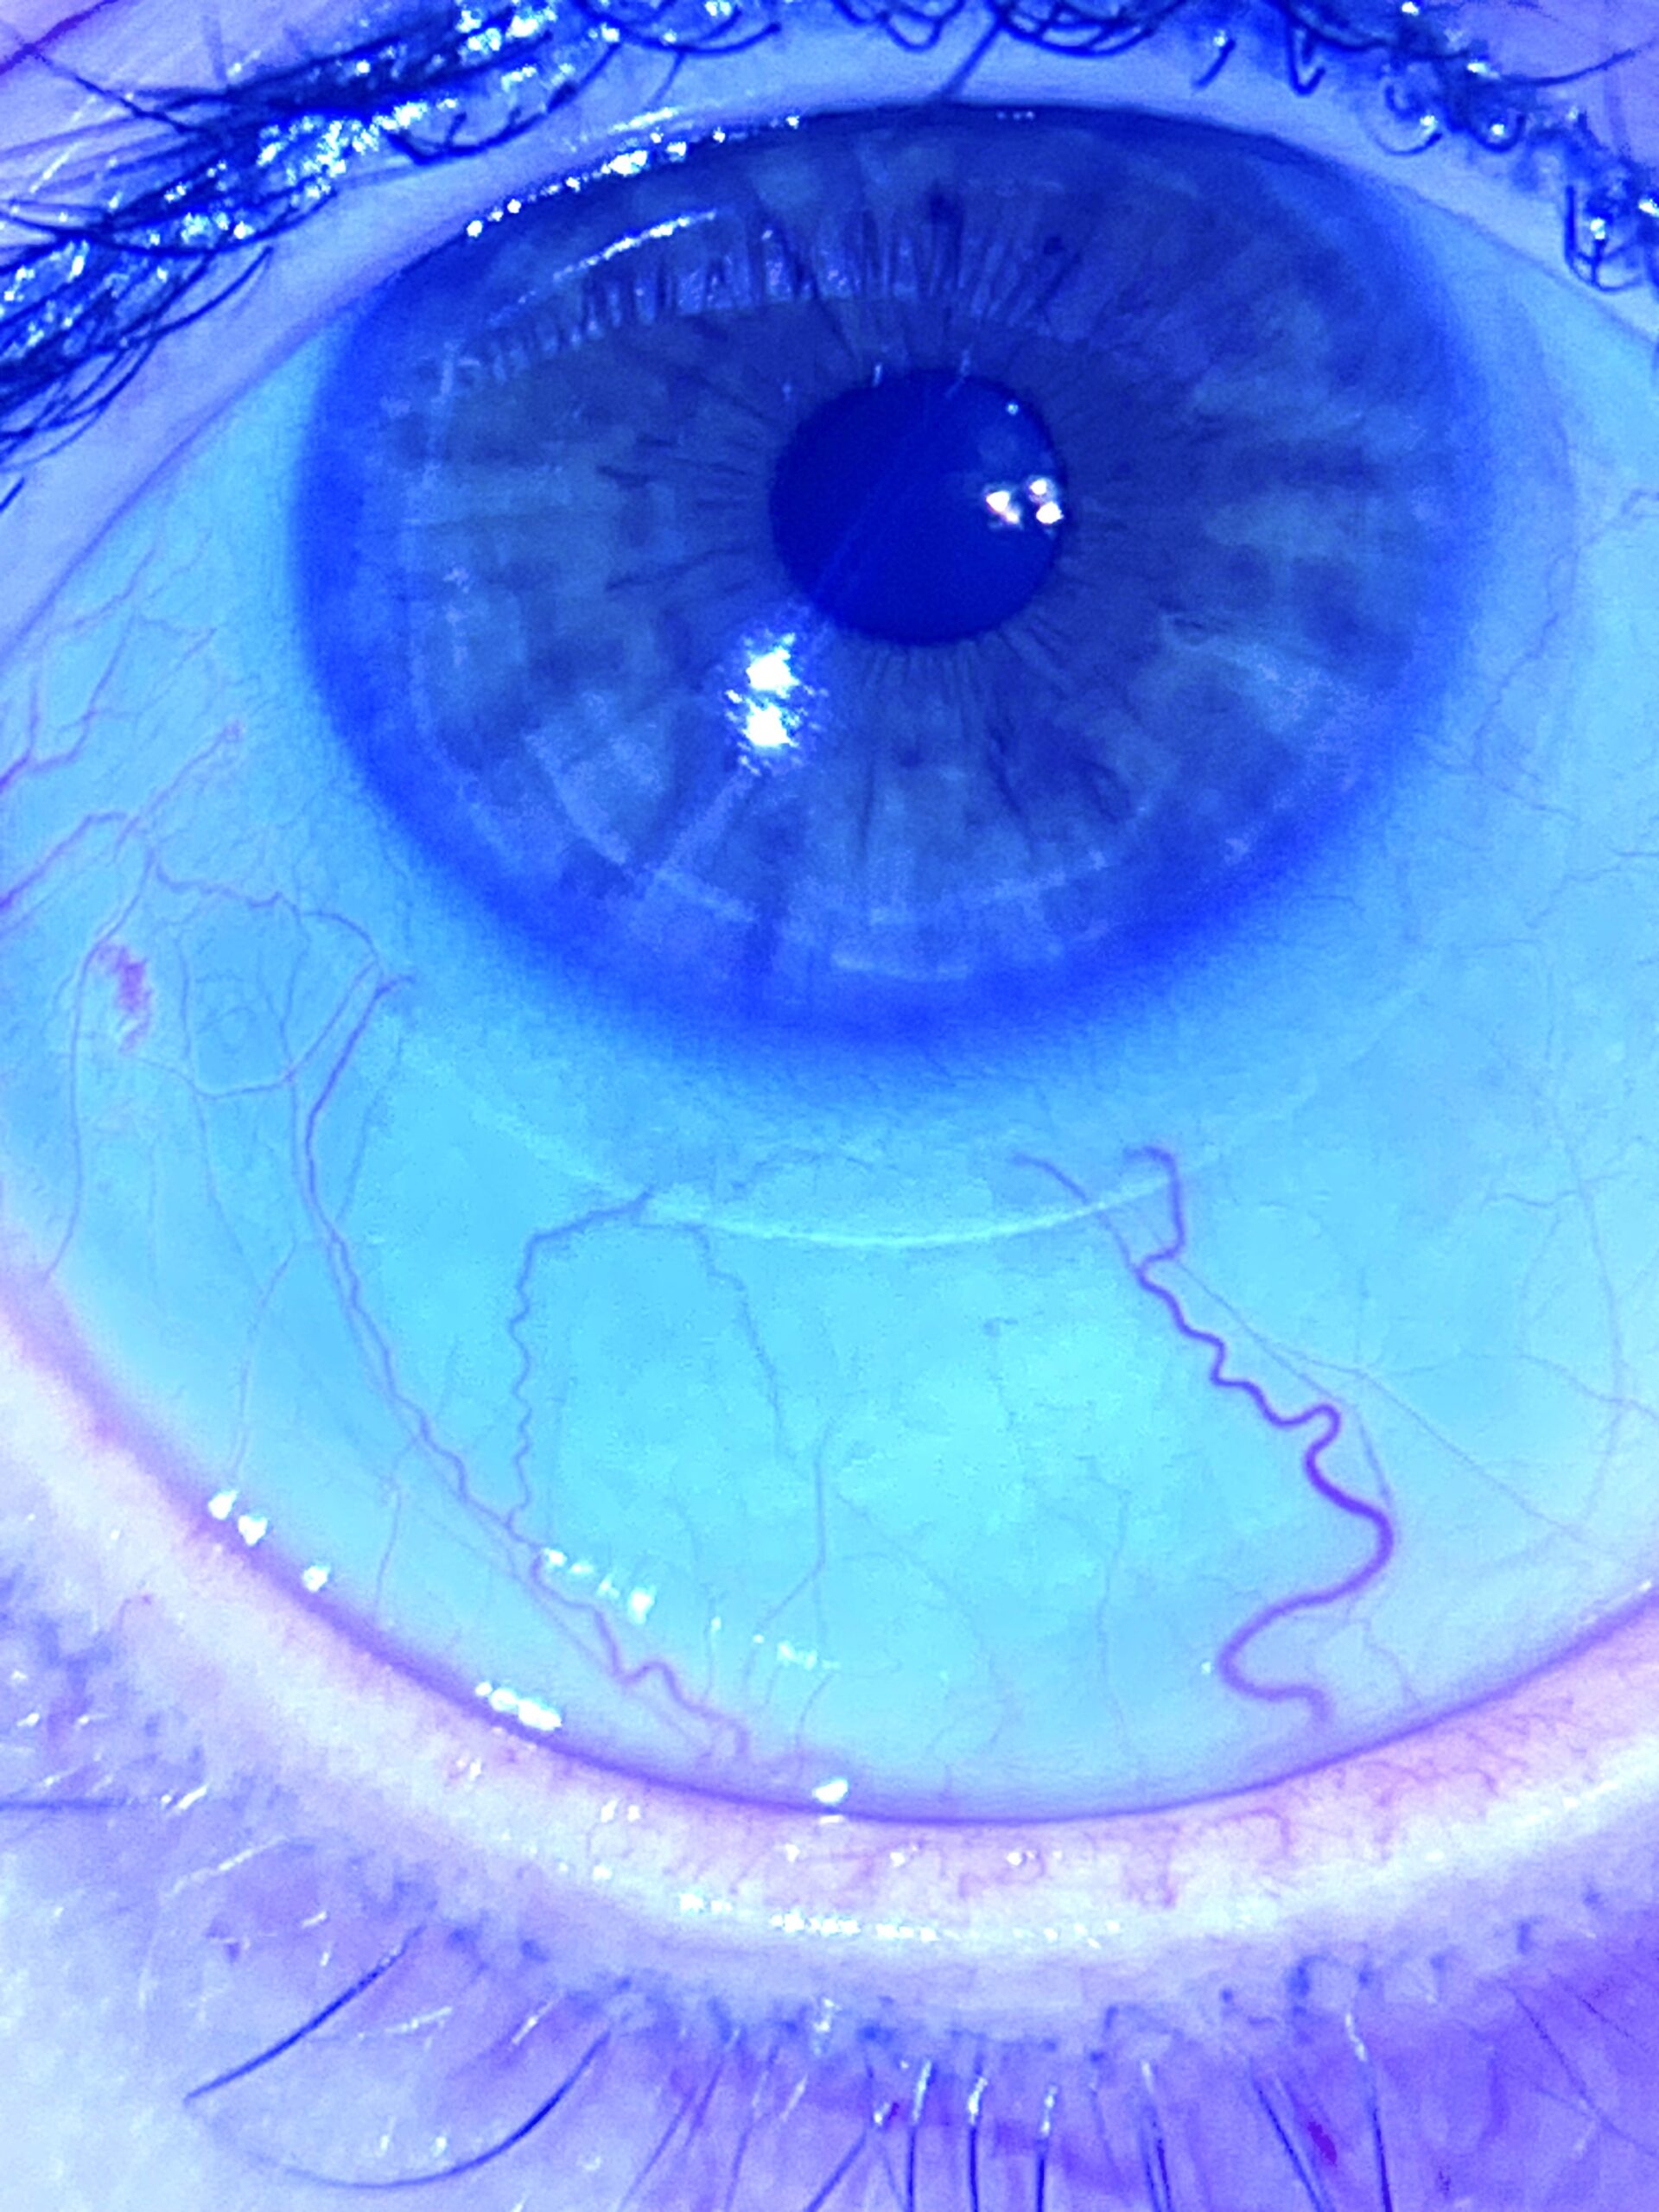
- Keep your head still and look up.
Preparing the Eye:
- With your free hand, gently pull down the bottom eyelid to expose the white part of your eye.
Taking the Photo:
- The person taking the picture should then capture a clear image of the white part of the eye.
Step 4: Capturing the White of the Eye Looking Down
Positioning:
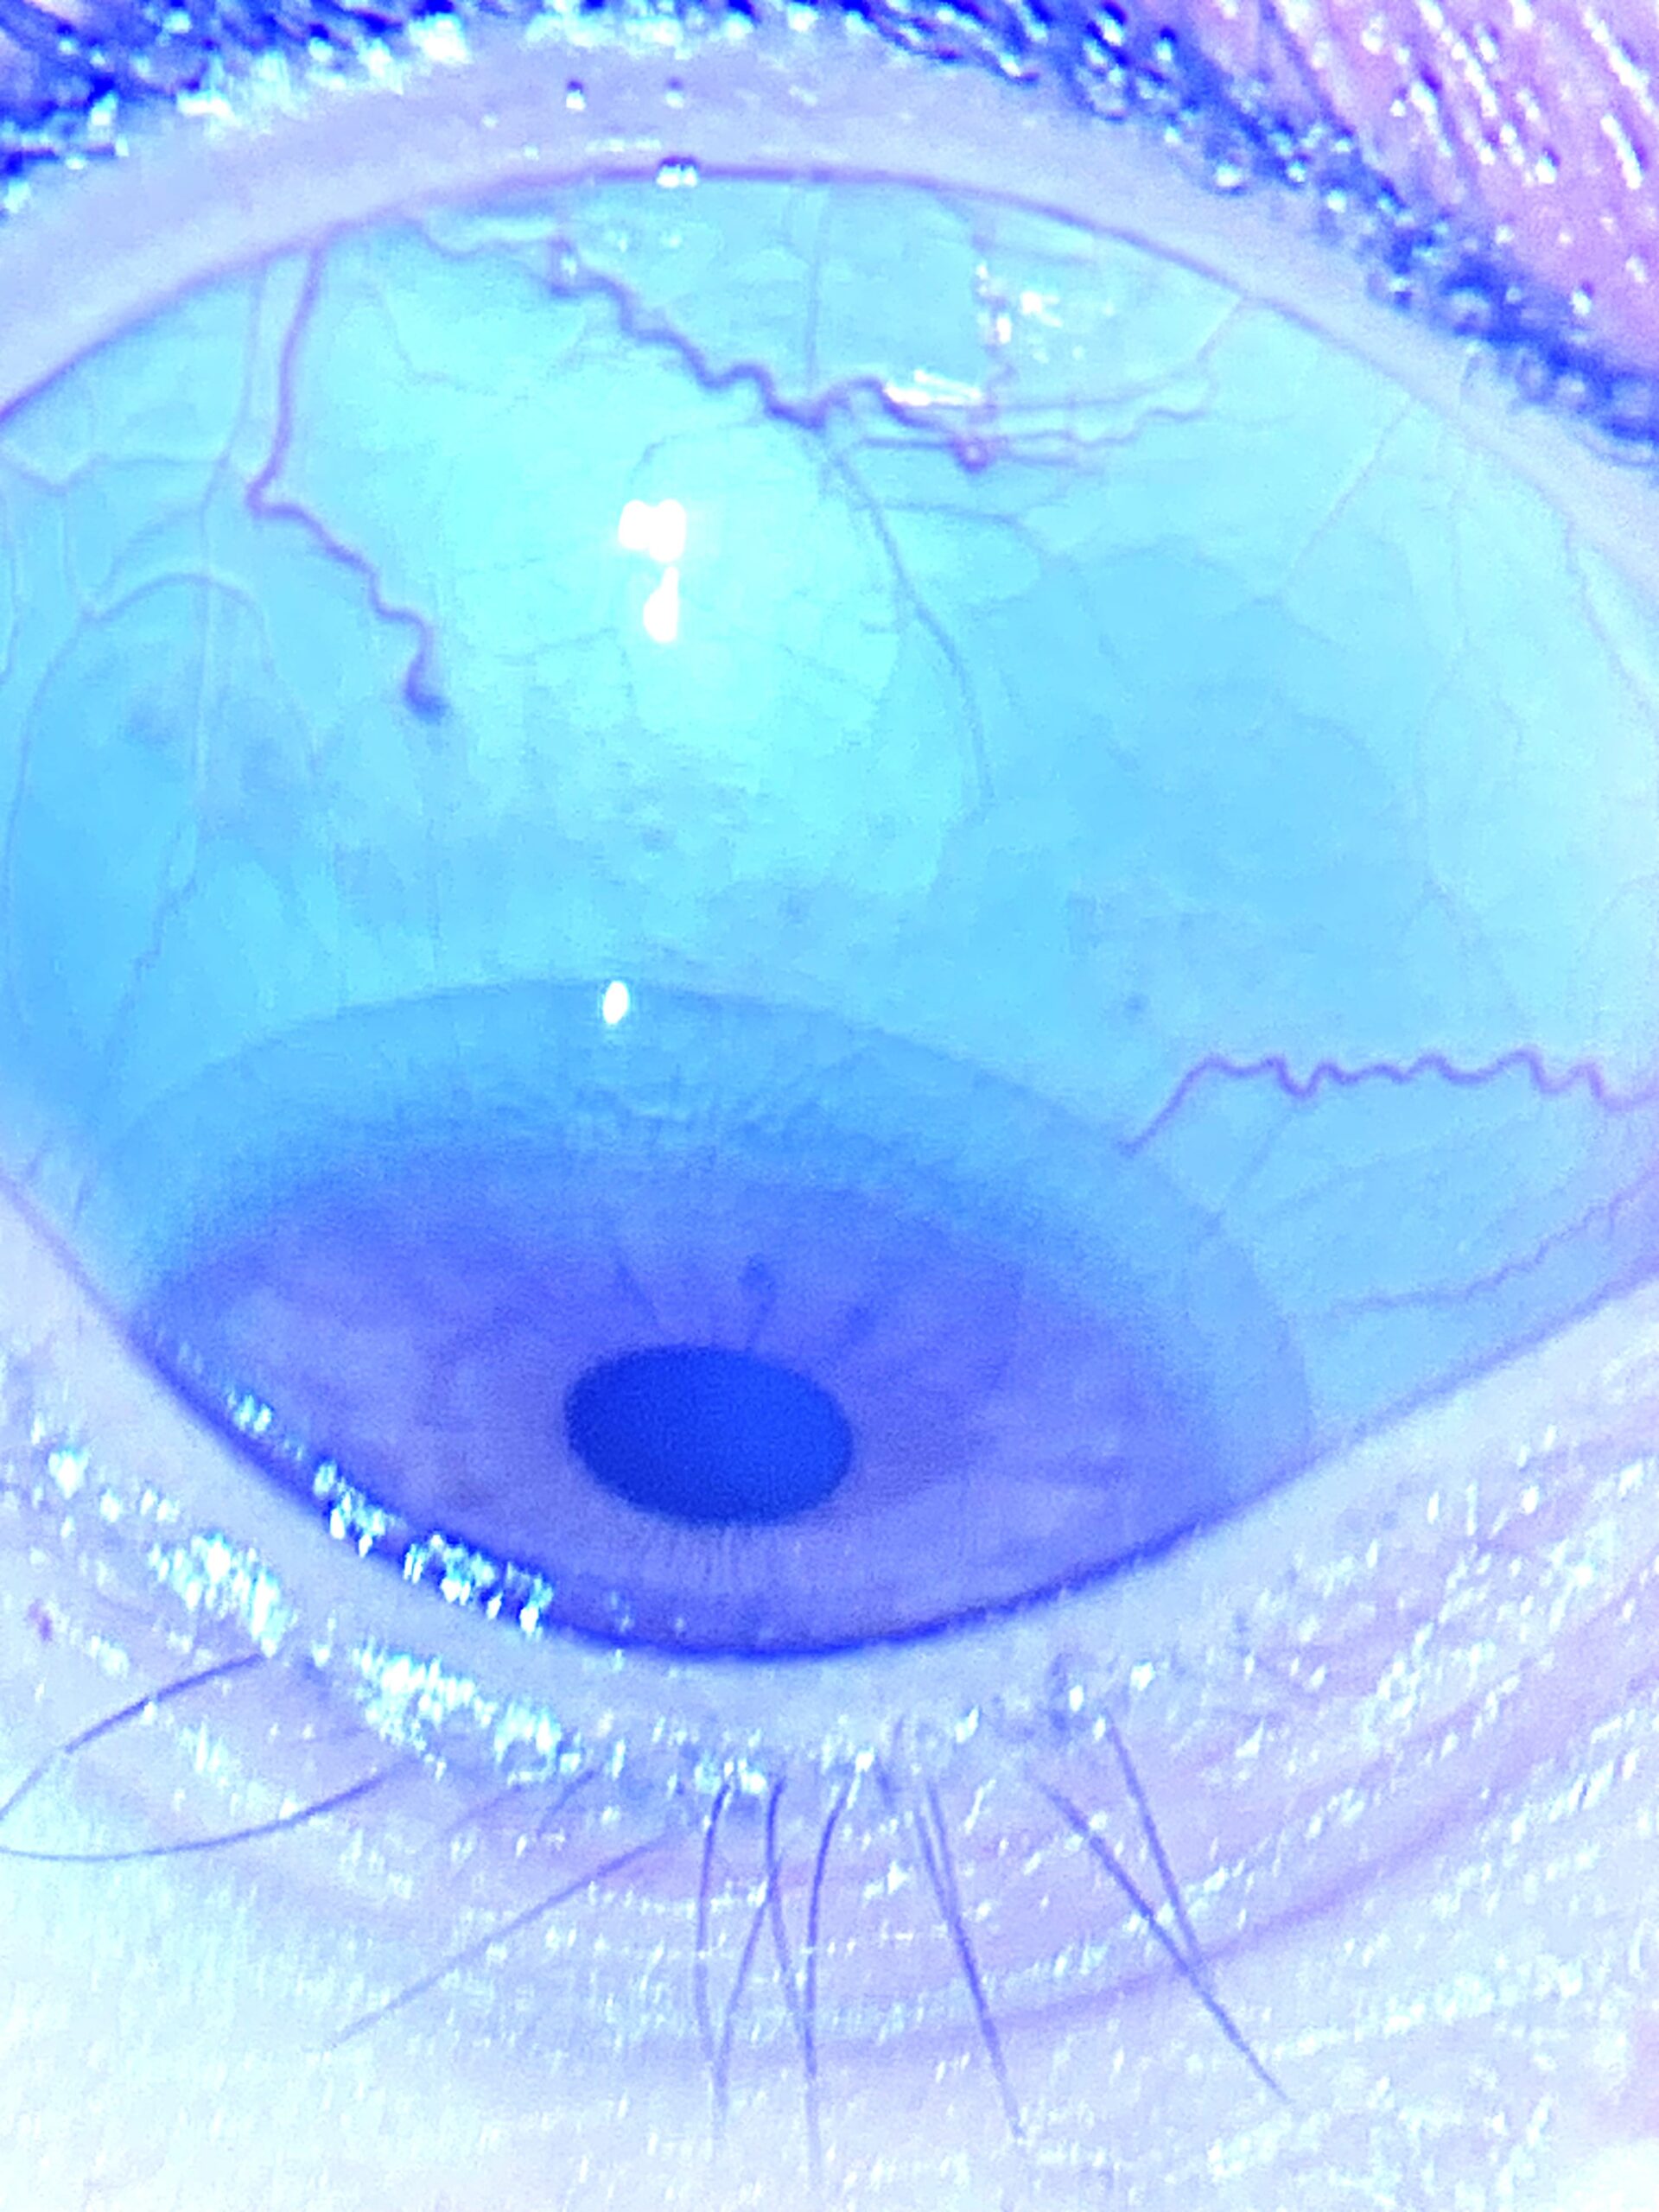
- Keep your head still and look down.
Preparing the Eye:
- With your free hand, gently pull down the top eyelid to expose the white part of your eye.
Taking the Photo:
- The person taking the picture should then capture a clear image of the white part of the eye.
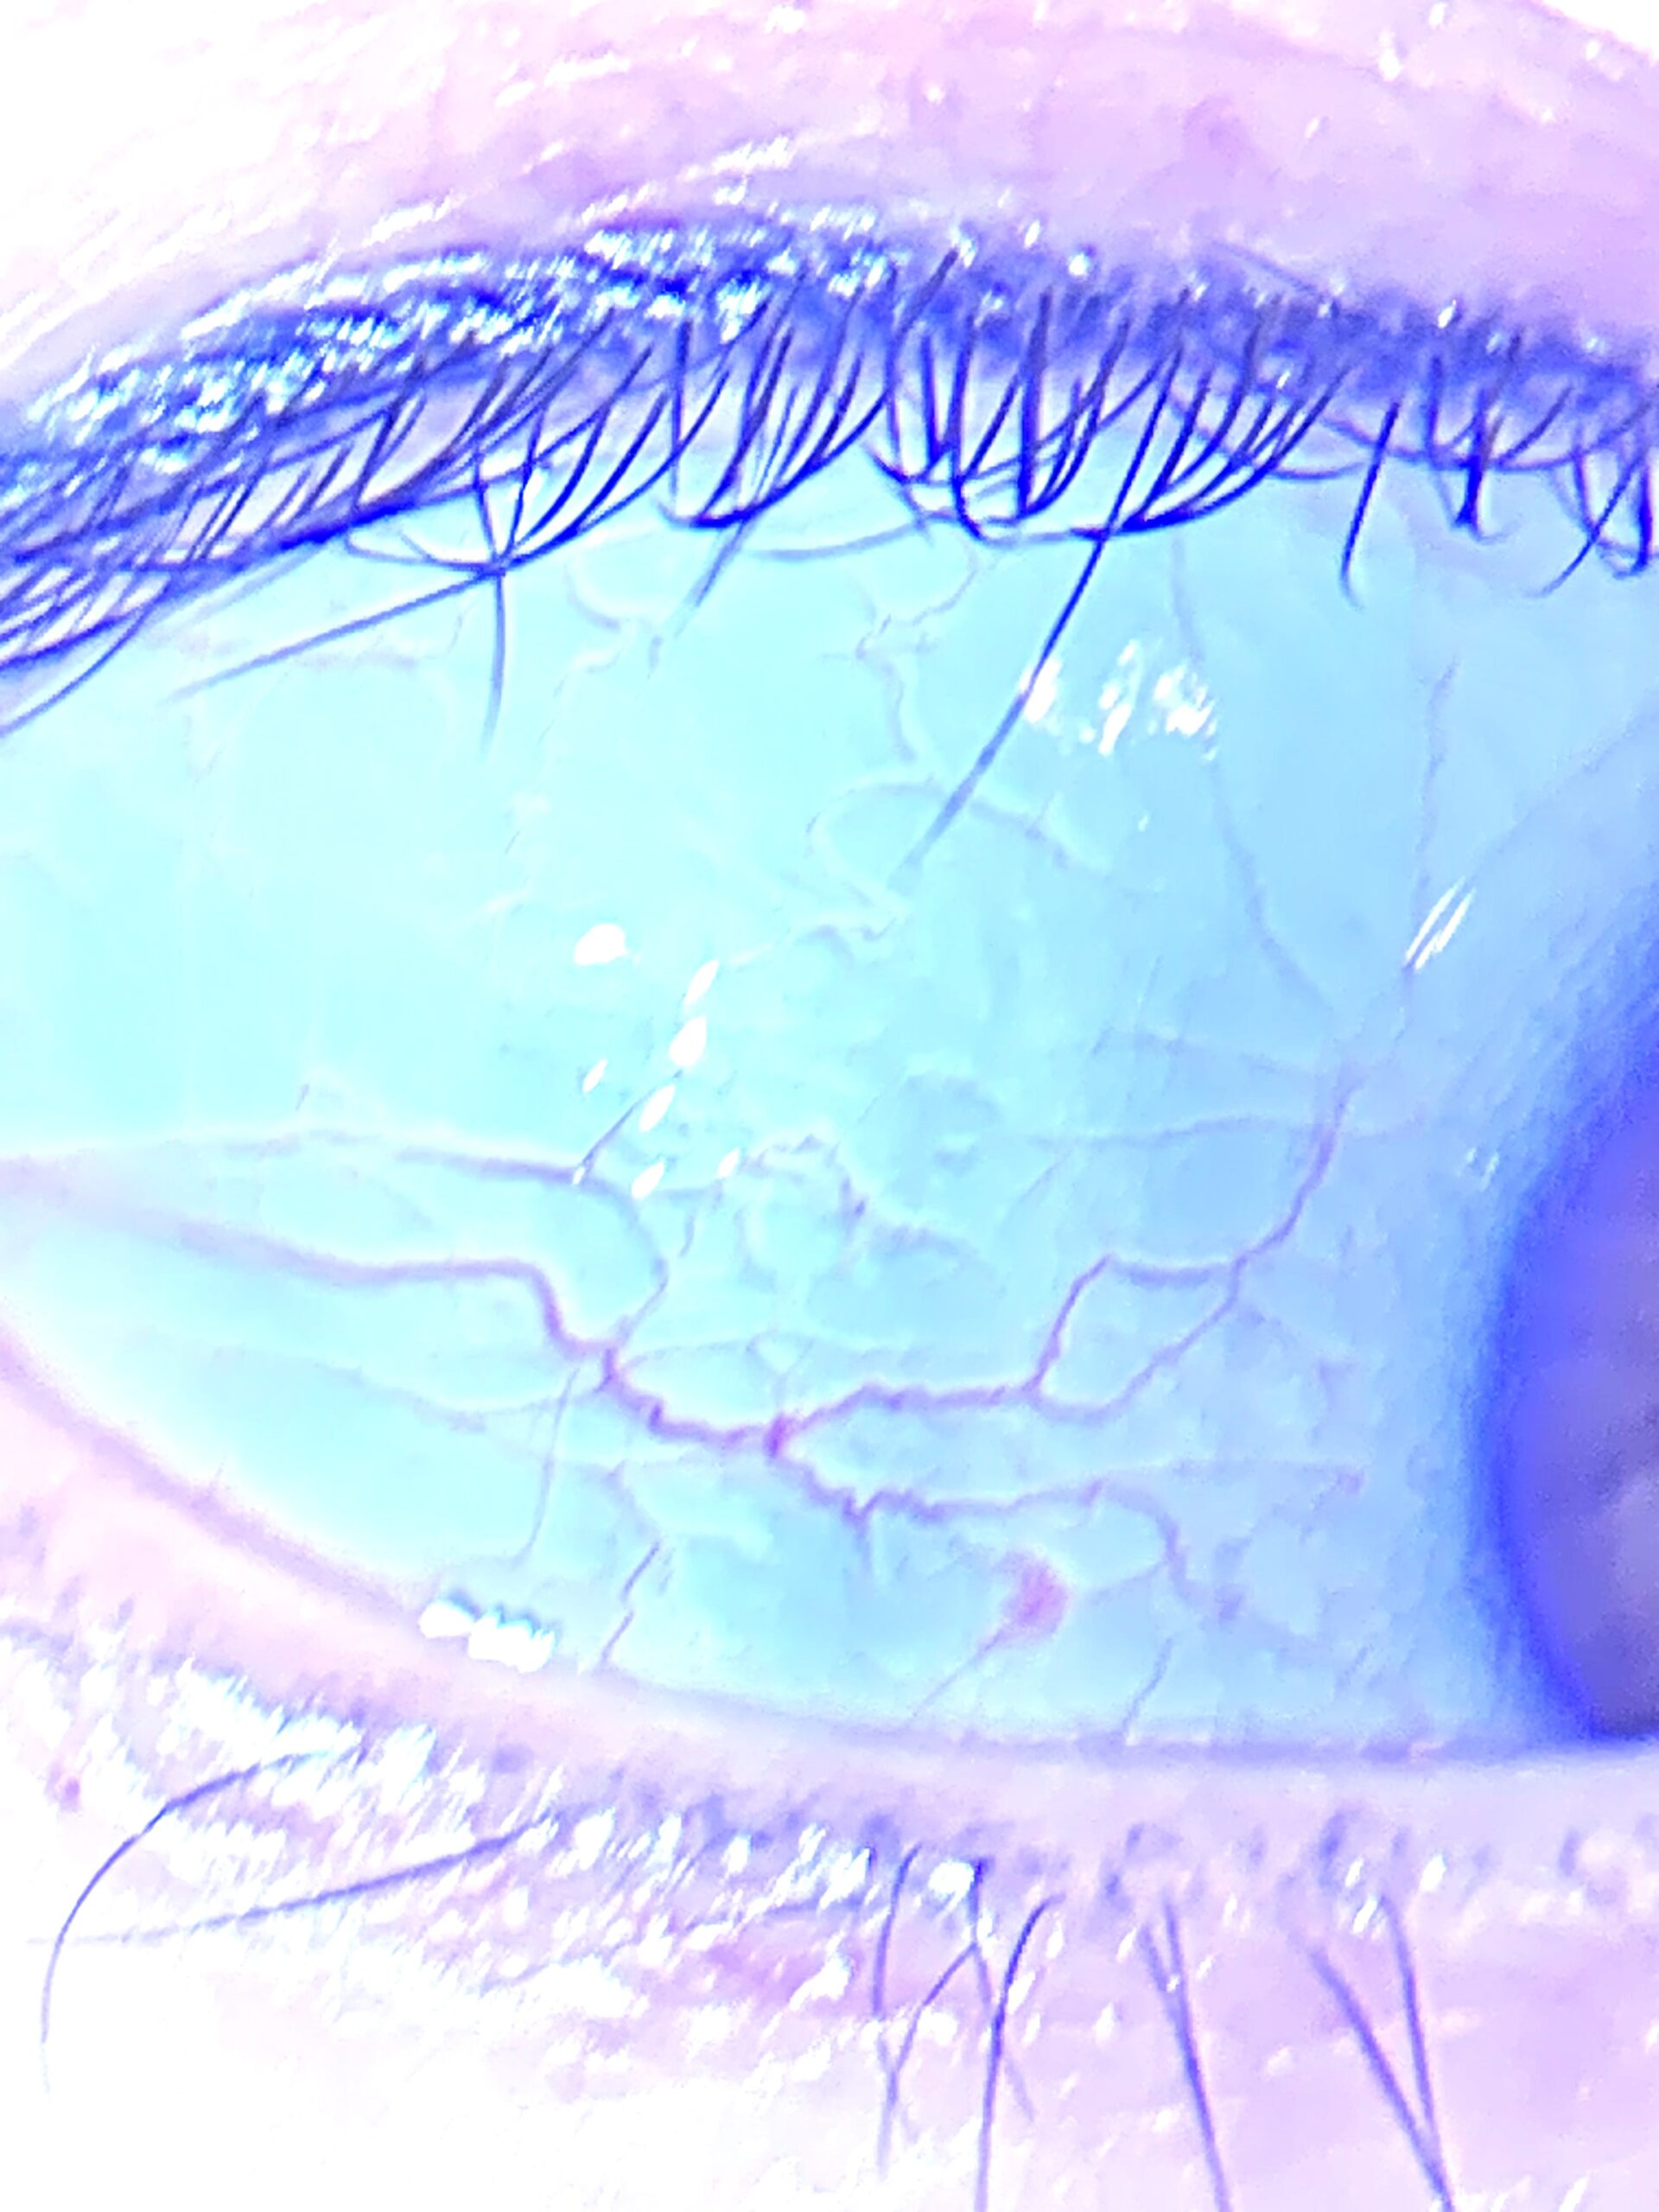
Step 5: Capturing the White of the Eye Looking Right
Positioning:
- Keep your head still and look right.
Taking the Photo:
- The person taking the picture should then capture a clear image of the white part of the eye.
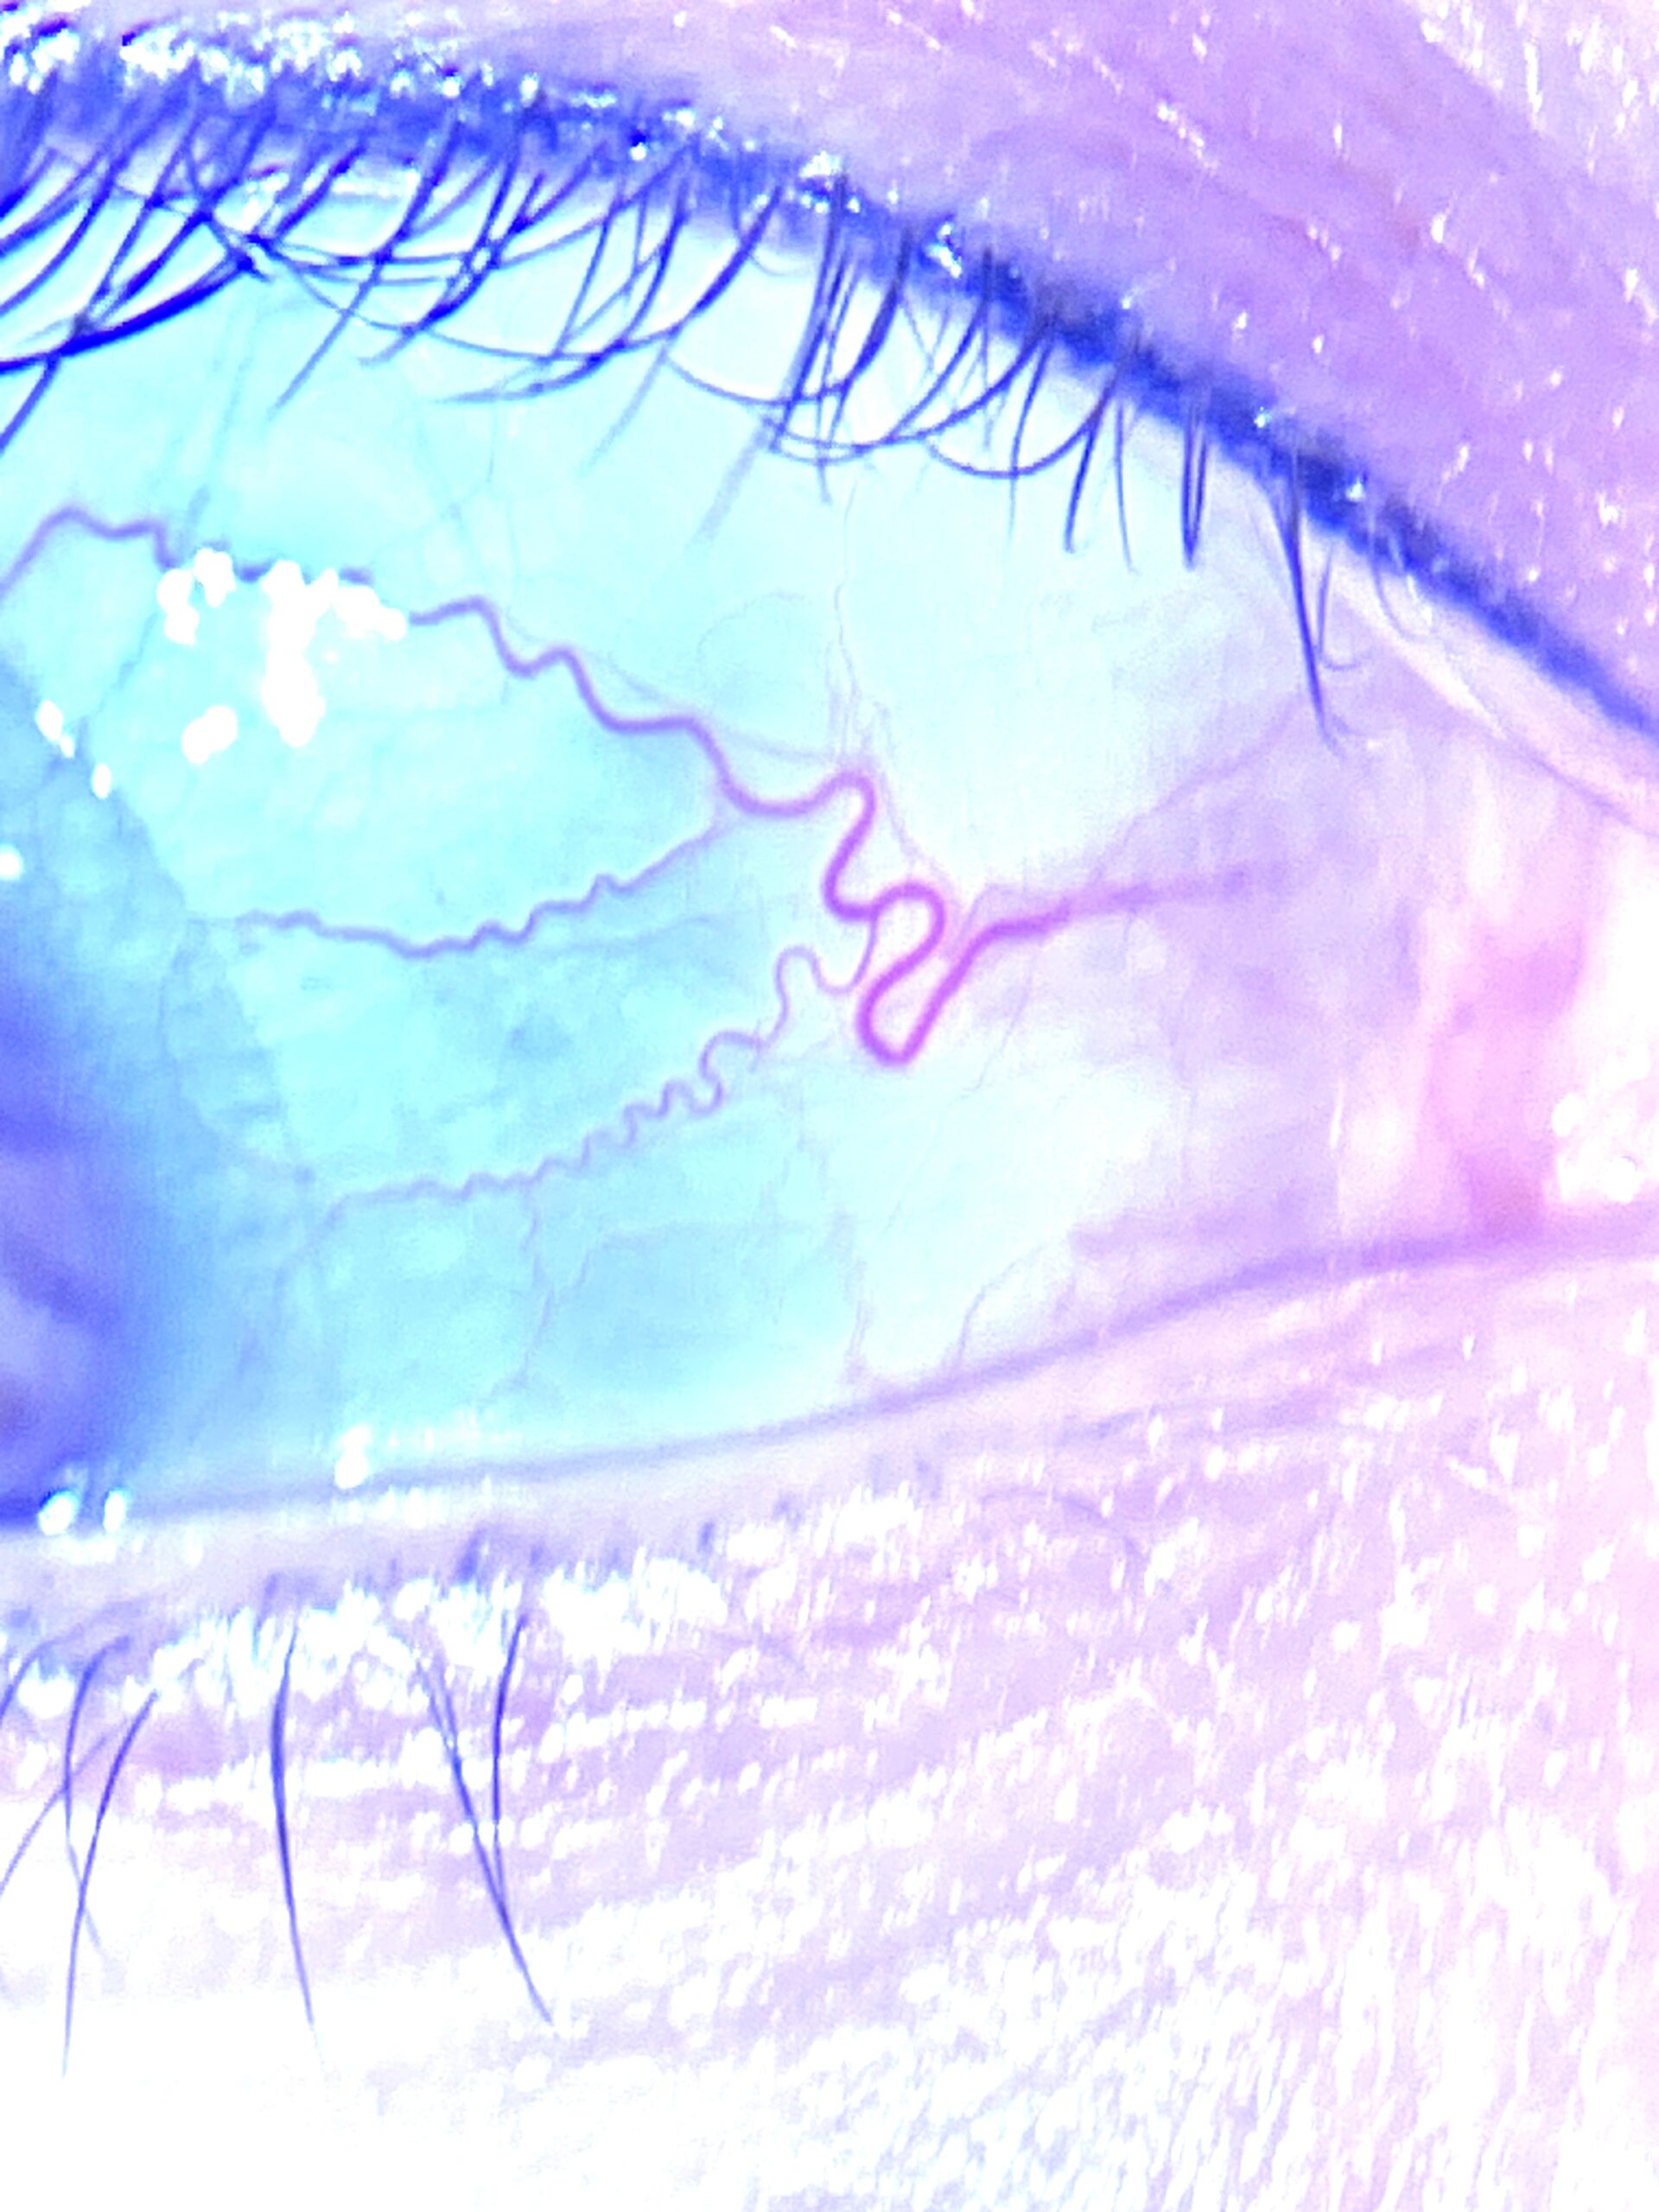
Step 6: Capturing the White of the Eye Looking Left
Positioning:
- Keep your head still and look left.
Taking the Photo:
- The person taking the picture should then capture a clear image of the white part of the eye.
Step 7: Completing the Photo Series
- Right Eye:
- Take 5 pictures of the right eye, capturing views of the eye looking straight ahead, up, down, right, and left seen by steps 2-6 from above.
- Left Eye:
- Repeat the process for the left eye, taking 5 pictures with the same views.
You should have a total of 10 pictures (5 of each eye).
